Build a board from requirements
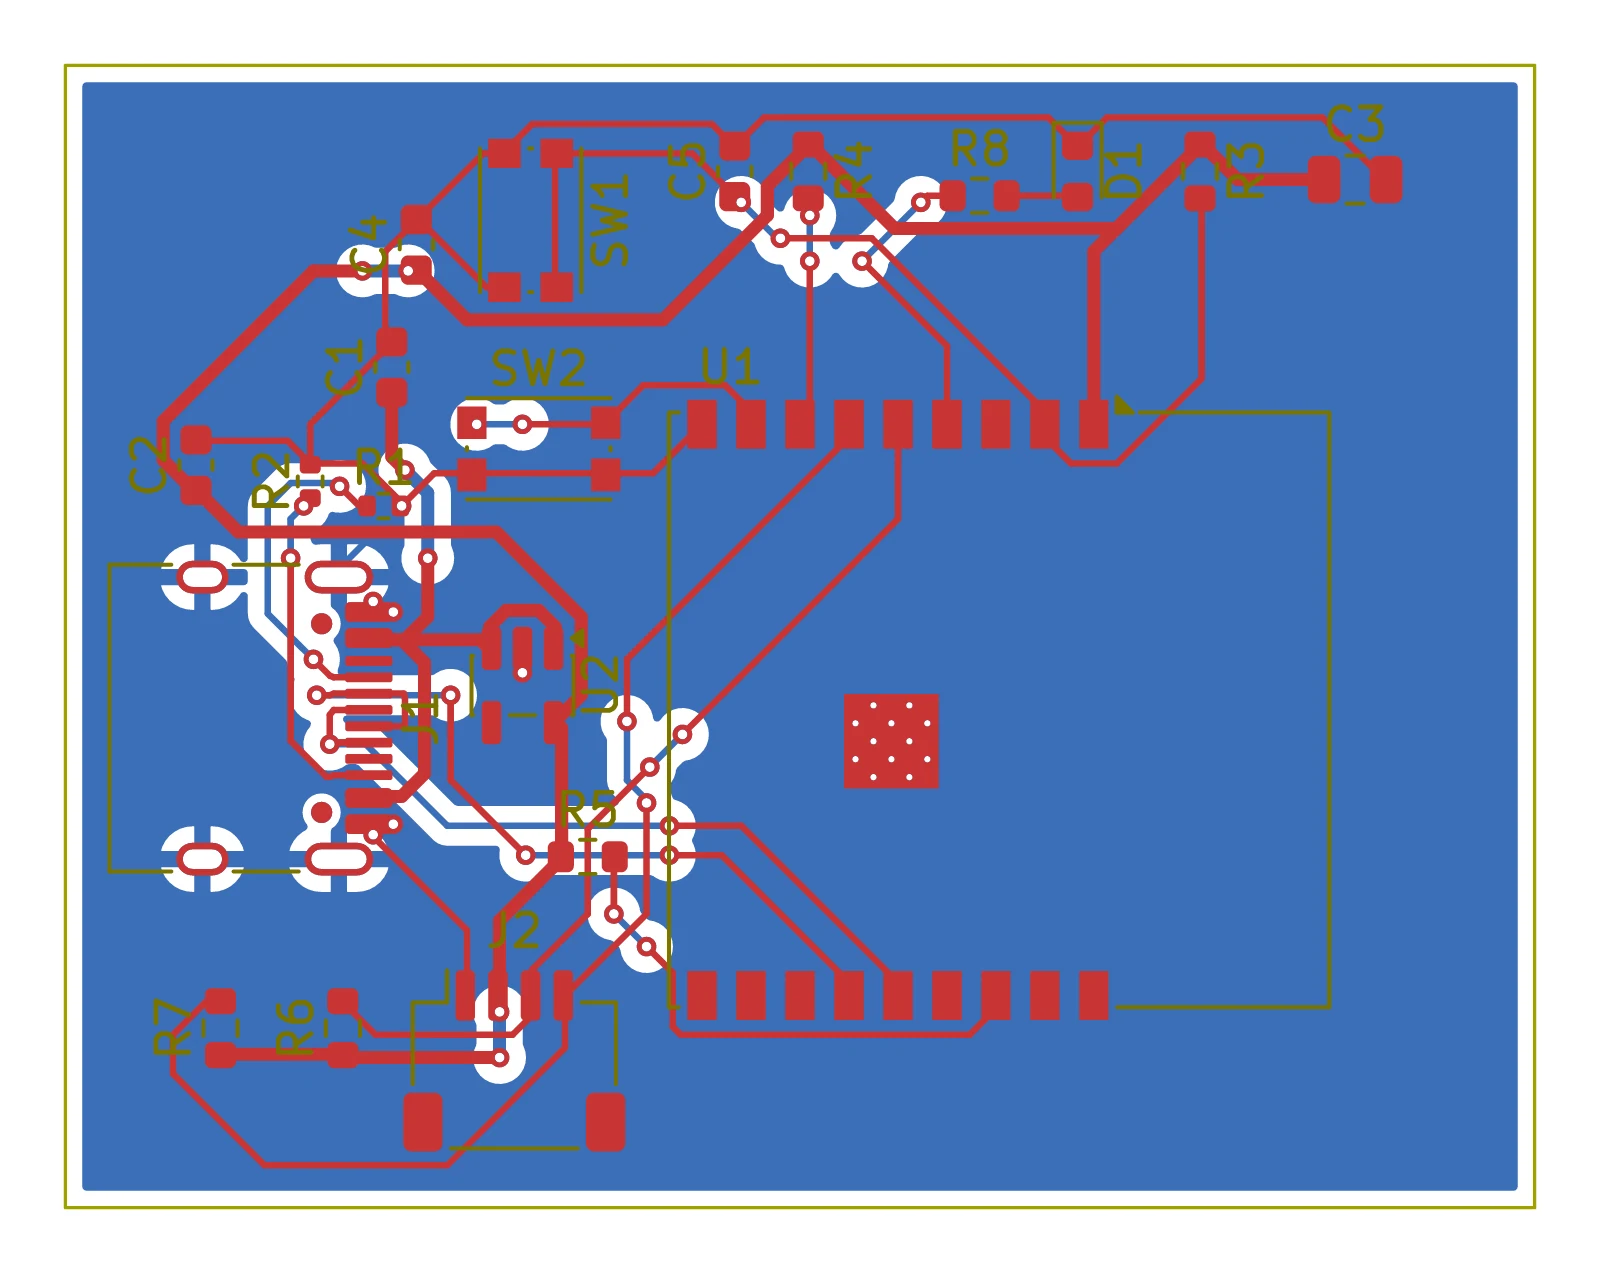
Say what the board should do, and your assistant builds it. It picks the circuit, and Crossprobe's MCP server draws the schematic, places and routes the board, runs ERC and DRC, and hands back a KiCad project with a picture of the result.
| You give | Requirements in your own words: what the board does, its supply, connectors, size |
| You get | A KiCad project: schematic, placed and routed two- or four-layer board, the check results, and the design spec it was built from |
| Works with | Claude Code, Claude Desktop, Cursor and other MCP clients, through the hosted server or the local one |
| Takes | Seconds to a couple of minutes per build, most of it routing |
| It is | A draft to review and finish. The checks cover connections and manufacturing rules, not whether the circuit does its job |
Ask for a board
With the server connected, describe the board:
Design a USB-C powered ESP32-C3 board with an I2C connector, reset and boot buttons and a status LED. 45 × 35 mm, two layers.
Or start the server's design_board prompt (in Claude Code: /mcp__crossprobe__design_board), which takes the assistant through the steps below in order.
Say what matters to you and leave the rest. The assistant asks about what decides the design and is missing, and states the assumptions it makes for the rest.
What happens
- Requirements. The assistant restates what you asked for as a short list and asks about gaps.
- Circuit. It looks for a design block first: reference circuits such as an ESP32 module with its support parts, a regulator or a USB-C input, whose every value cites its datasheet page. For the rest it finds real library parts and reads their pin numbers from the library. It does not invent symbols, footprints or pins.
- Build. It writes a design spec (the parts, the net of each pin, the board) and the server builds it:
- checks the spec against the libraries and says what to correct;
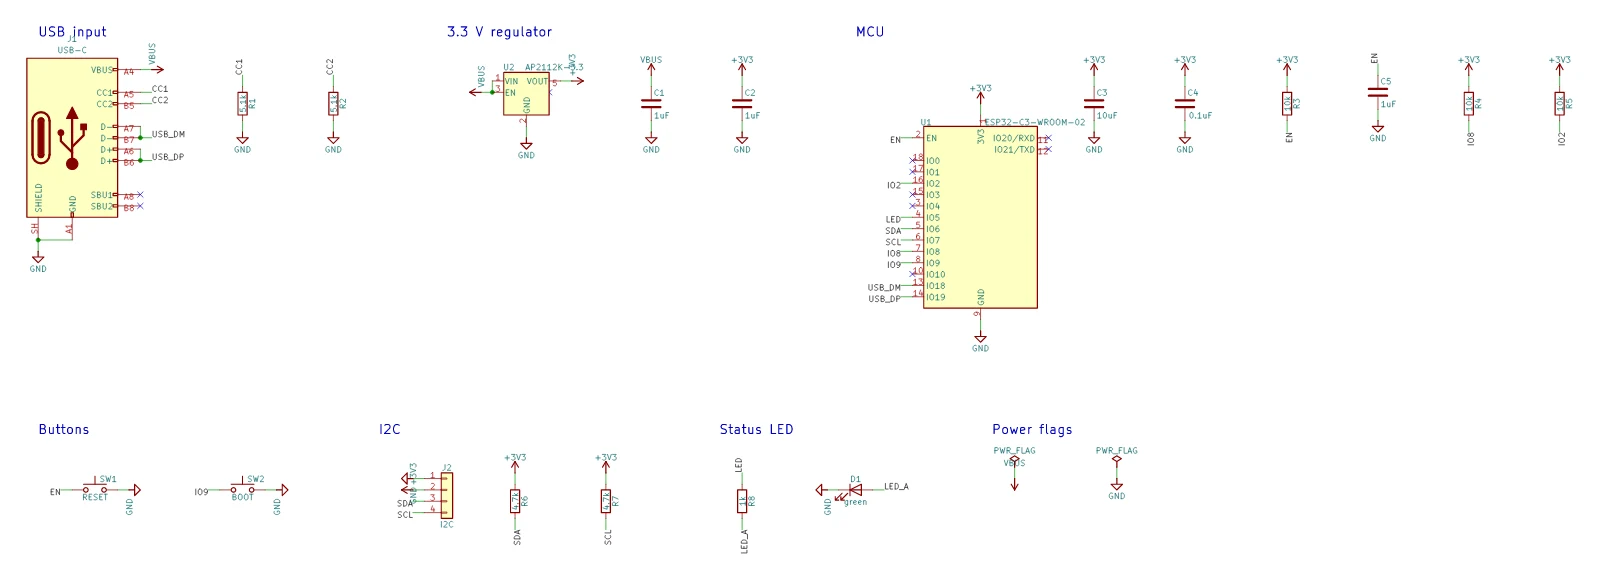
- draws the schematic, grouped by function;
- places every footprint inside the outline, next to what it connects to;
- pours ground, routes, and runs ERC, DRC and the schematic/board parity check.
- Look. The assistant asks for a picture of the board and of the schematic, and checks that parts are grouped sensibly and connectors face out. It corrects the spec and builds again until the report is clean, or until what is left is your decision (a larger board, more layers).
- Save and show. On the hosted server the result is saved to your account as it is built, and you get a link that opens it in Crossprobe. On the local server it is written to a folder once you agree. Either way the assistant then tells you what it built, why each part is there, what it assumed, and what you must check yourself.
What you can say about the layout
You don't give coordinates. Say what a person would say, and the assistant puts it in the spec:
| Say | In the spec |
|---|---|
| "The USB connector on the left edge, at the top" | The part on that edge, aligned to its start, centre or end |
| "Put the TVS diode next to the fuse" | The part beside another one, whatever the nets suggest |
| "Keep the area under the module free of tracks on the back" | A keep-out for parts, tracks, vias or the pour, on one side or both |
| "A notch under the antenna" | A rectangle cut out of the board outline; inside the board it is a slot or hole |
| "Rounded corners, 2 mm" | A corner radius for the outline |
| "Let the module hang 1.5 mm over the top edge" | An overhang for a part on an edge |
| "The power rails 0.5 mm wide" | A track width per net |
A fixed position in millimetres is possible too, for a mounting hole or a connector that must match an enclosure.
To change one thing afterwards, ask for it: "move D1 next to F1". The assistant moves that part and only its nets are routed again, in a second or two, while the rest of the board stays as it was.
Parts it can use
- KiCad's standard libraries.
- Seeed Studio's XIAO boards, as through-hole or surface-mount parts: nRF52840, ESP32-C3, C5, C6 and S3, RP2040, RP2350, SAMD21 and others. A design that uses one credits Seeed's library on the schematic. See Part libraries.
- Parts that are in no library. The assistant can fetch the maker's own KiCad symbol and footprint and carry them in the design. They are written into the project as its own libraries, with a line on the schematic saying where they came from and under which licence. Nobody at Crossprobe has checked such files, so compare the pins and pads with the datasheet.
What you must check
The result is a draft, not a board to order unseen.
- Values and ratings against the datasheets. Parts taken from a design block cite their page; the rest are the assistant's choice.
- Pin functions. The checks know that every pin is connected, not that it is connected to the right thing.
- Placement of decoupling capacitors, connectors and antennas. Look at the picture, and open the project.
- Anything marked draft: a design block that nobody has checked against its sources yet says so.
Then open it in Crossprobe or KiCad, finish it, and export the fabrication files. Running a design review on the result is a good next step.
Limits
- One schematic sheet, up to 150 parts, on a board up to 250 mm a side, with two or four copper layers.
- All parts on the front. No symbols with several units yet (dual op-amps, logic gates).
- The outline is a rectangle, with rounded corners and rectangular cut-outs if you ask.
- The router is a grid router. It finishes boards of a few dozen parts; a dense board may come back with connections left unrouted, and the report says which.
- On the hosted server a build is stopped after 150 seconds, with an answer that says so.
- An account without a plan gets one build a day on the hosted server. See what it costs. The local server has no such limit.